DIY Oil Changes and Basic Vehicle Fluid Maintenance at Home
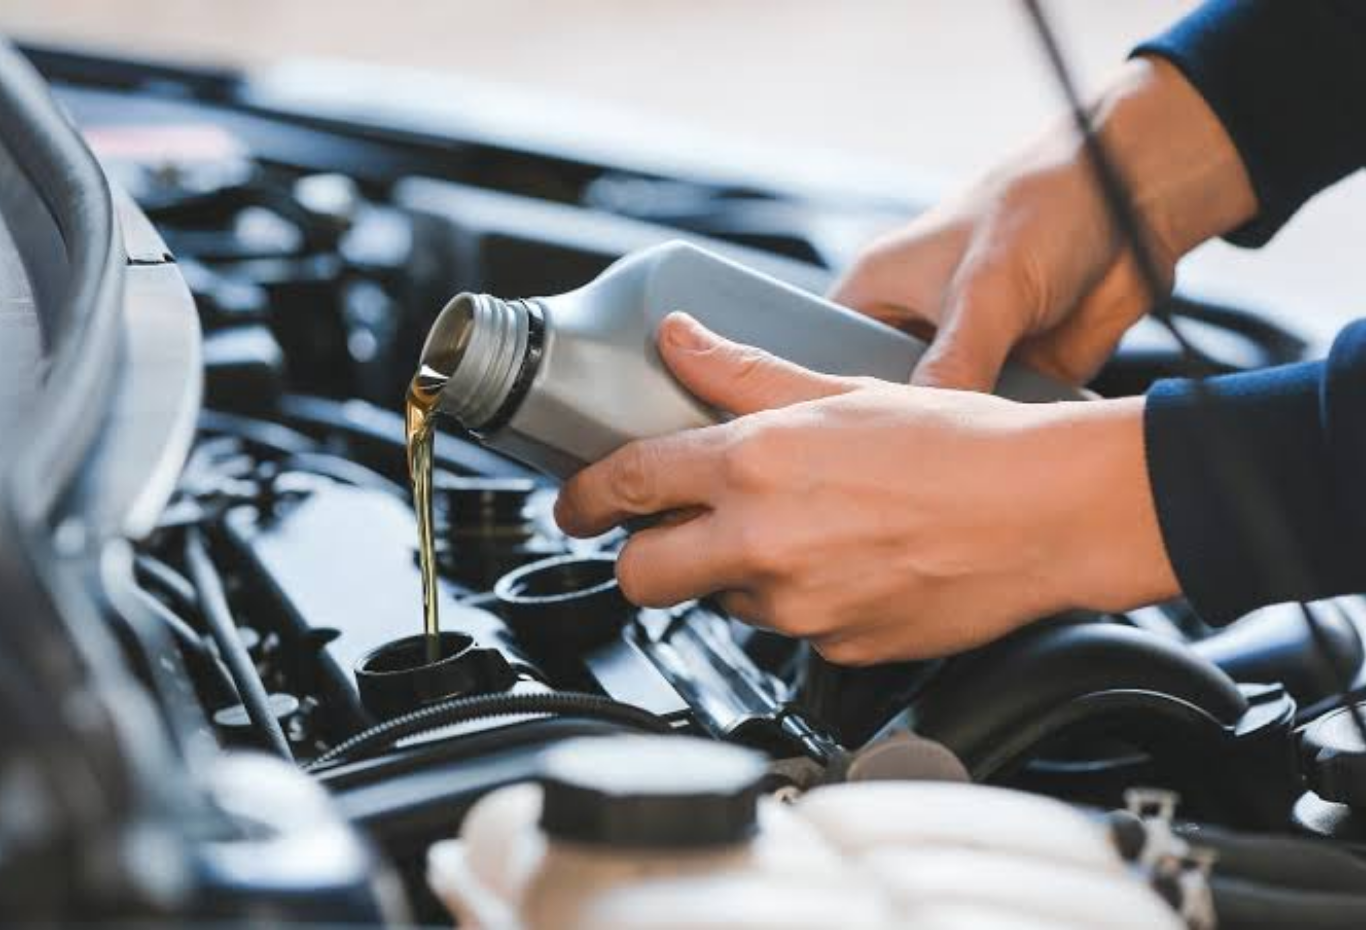
Regular vehicle maintenance doesn't always require a trip to the mechanic. Some basic tasks, such as checking fluids and changing engine oil, can be performed at home if you have the right tools, follow the vehicle manufacturer's instructions, and work safely.
Learning how to change your car's oil at home can help reduce maintenance costs and give you a better understanding of your vehicle. Basic fluid checks can also help you notice leaks or low fluid levels before they become expensive problems.
However, DIY vehicle maintenance should never be about rushing or guessing. Different vehicles require different oils, fluids, capacities, filters, and procedures. Always consult your owner's manual or the manufacturer's service information before starting.
Why Basic Fluid Maintenance Matters
Vehicle fluids perform essential jobs throughout the car.
Engine oil lubricates moving engine components and helps control heat and contaminants. Coolant helps regulate engine temperature. Brake fluid transfers hydraulic pressure through the braking system. Transmission fluid lubricates and helps operate the transmission, depending on the vehicle design.
When fluids become contaminated, deteriorate, or fall below the required level, components may not operate as intended.
Regular maintenance can help you:
- Extend vehicle component life
- Identify leaks early
- Maintain reliable performance
- Avoid unnecessary repairs
- Reduce long-term maintenance expenses
- Keep track of your vehicle's service history
The key is following the maintenance schedule recommended for your specific vehicle.
Before You Start a DIY Oil Change
An oil change may look simple, but preparation is important.
Before beginning, check your owner's manual for:
- Recommended engine oil viscosity
- Required oil specification
- Oil capacity
- Correct oil filter
- Oil-change interval
- Drain-plug information
- Any special procedures
Never choose engine oil solely because it is cheap or because someone online recommends it for a different vehicle.
The wrong oil specification can affect engine operation and may cause problems, particularly in modern engines with specific lubrication requirements.
Tools You May Need
A basic DIY oil change doesn't require a professional workshop, but you need appropriate equipment.
Common supplies include:
- Correct engine oil
- Replacement oil filter
- Drain-pan
- Socket or wrench for the drain plug
- Oil-filter wrench if necessary
- Funnel
- Gloves
- Shop towels or rags
- Vehicle jack and properly rated jack stands, if required for access
- Wheel chocks
- A container for used oil
Some vehicles have enough clearance to access the drain plug without lifting the vehicle. If you need to raise the vehicle, use equipment designed for the vehicle's weight and follow safe lifting procedures.
Never work underneath a vehicle supported only by a jack.
Step 1: Park and Prepare the Vehicle
Park on a solid, level surface and engage the parking brake.
If the engine has been running, allow it to cool enough to avoid burns. Some manufacturers recommend warming the engine briefly before draining the oil because warm oil flows more easily, but hot oil can cause serious burns.
Read your vehicle's instructions and use appropriate protective equipment.
Keep children, pets, and unnecessary objects away from the work area.
Step 2: Locate the Oil Drain Plug
Place the drain pan underneath the engine's oil drain plug.
The exact location varies by vehicle. If you're unsure, consult the owner's manual rather than removing a random bolt.
Loosen the drain plug carefully.
As the plug comes out, oil may flow quickly, so position the drain pan accordingly.
Allow the old oil to drain completely or according to the manufacturer's recommended procedure.
Step 3: Replace the Oil Filter
The oil filter removes contaminants from engine oil.
Locate the old filter and remove it using an appropriate tool if necessary.
Before installing the new filter, compare it with the old one to make sure you've purchased the correct part.
If the manufacturer's instructions permit it, lightly lubricate the new filter's sealing gasket with clean engine oil. Hand-tighten the filter according to the manufacturer's instructions. Some filters have specific tightening requirements, so don't simply assume that tighter is better.
Over-tightening can damage the filter or make future removal difficult.
Step 4: Reinstall the Drain Plug
Inspect the drain plug and its sealing washer or gasket.
Some vehicles require the sealing washer to be replaced during an oil change.
Clean the area around the drain opening and reinstall the plug.
If the manufacturer specifies a torque value, use a torque wrench and follow that specification.
Avoid guessing the torque.
Step 5: Add the Correct Amount of Oil
Locate the engine oil filler cap and use a funnel to add the recommended oil.
Don't immediately pour the entire container into the engine without checking the capacity.
Add most of the specified amount first, then check the level using the vehicle's recommended procedure.
Some vehicles use a traditional dipstick, while others have electronic oil-level monitoring.
If your vehicle has a dipstick, park on level ground and follow the owner's manual instructions for checking the oil level.
Add small amounts until the level is within the appropriate range.
Do not overfill the engine.
Step 6: Check for Leaks
After adding oil, inspect the area around the drain plug and oil filter.
Start the engine briefly according to the manufacturer's procedure and check for signs of leakage.
Turn the engine off and recheck the oil level after waiting the amount of time specified by the manufacturer.
If you notice significant leakage, an oil-pressure warning light, unusual noises, or another serious problem, stop and investigate before driving.
Don't Pour Used Oil Down the Drain
Used motor oil should never be poured into sinks, drains, soil, or waterways.
It can contaminate the environment and create disposal problems.
Instead, store used oil in a clean, sealed container and take it to an appropriate recycling or collection facility. Many automotive parts retailers, service centers, recycling facilities, and local waste programs accept used motor oil, although availability varies by location.
Keep the old oil away from children and pets until it can be properly disposed of.
Check Your Coolant
Engine coolant helps regulate engine temperature and protect the cooling system.
Check the coolant reservoir when the engine is cool. The reservoir normally has markings showing an appropriate level range.
Never open a hot cooling-system cap unless the vehicle manufacturer specifically instructs you to do so. Pressurized hot coolant can cause severe burns.
Use only the coolant type or specification recommended for your vehicle.
Do not assume that every coolant is interchangeable.
If the coolant level repeatedly drops, look for signs of a leak and have the cooling system inspected.
Check Brake Fluid
Brake fluid is another important maintenance item.
Locate the brake-fluid reservoir and check whether the level is within the marked range.
The correct fluid specification is usually identified on the reservoir cap or in the owner's manual.
Don't simply add an unfamiliar fluid.
If the brake-fluid level is unusually low, don't treat topping it off as a complete solution. A low level can indicate brake-pad wear or a leak, both of which may require professional inspection.
Because brakes are a critical safety system, don't attempt repairs you're not qualified to perform.
Inspect Windshield Washer Fluid
Windshield washer fluid is one of the easiest fluids to maintain yourself.
Check the reservoir periodically and refill it with an appropriate washer fluid.
Avoid using ordinary household liquids that may not be suitable for your climate or vehicle.
In colder climates, use washer fluid rated for the expected temperatures to help prevent freezing.
Keeping the reservoir full is a small task that can make a big difference to visibility while driving.
Transmission Fluid Requires Extra Care
Transmission-fluid maintenance varies considerably between vehicles.
Some transmissions have dipsticks and specific procedures for checking fluid levels. Others are designed as sealed systems with no routine owner-level fluid check.
Some modern vehicles require a specific temperature and procedure for checking fluid.
Because of these differences, don't assume that you should simply remove a cap and add fluid.
Check the manufacturer's instructions first.
Using the wrong transmission fluid can cause serious problems.
Look for Signs of Fluid Leaks
You don't need advanced mechanical skills to notice potential leaks.
During routine maintenance, look underneath the vehicle for unusual spots or wet areas.
Different fluids can have different colors, textures, and smells, but you shouldn't rely on appearance alone to identify them.
Potential warning signs include:
- Fresh fluid under the vehicle
- Repeatedly low fluid levels
- Burning smells
- Overheating
- Warning lights
- Changes in braking performance
- Transmission shifting problems
If you discover an unexplained leak, have the vehicle inspected rather than repeatedly topping up the fluid.
Keep a Maintenance Record
A simple maintenance log can save you money and confusion.
Record:
- Date of service
- Vehicle mileage
- Oil type
- Oil quantity
- Filter used
- Other fluids checked
- Parts replaced
- Any problems discovered
Keeping receipts and maintenance records can also be useful when selling the vehicle.
Common DIY Maintenance Mistakes to Avoid
Several mistakes can turn a simple maintenance task into an expensive repair.
Avoid:
Using the wrong oil: Always follow the manufacturer's specification.
Overfilling fluids: More isn't necessarily better.
Ignoring leaks: Repeatedly adding fluid doesn't fix the underlying problem.
Working under an improperly supported vehicle: Use appropriate safety equipment.
Mixing incompatible fluids: Follow the manufacturer's specifications.
Forgetting the drain-plug gasket: If your vehicle requires replacement, install a new one.
Poor oil disposal: Recycle used oil through an appropriate collection service.
Skipping the owner's manual: Vehicle maintenance procedures vary significantly.
When You Should Call a Professional
DIY maintenance is useful, but not every automotive repair should be handled at home.
Get professional help when you encounter:
- Major fluid leaks
- Brake-system problems
- Engine overheating
- Persistent warning lights
- Transmission problems
- Unusual engine noises
- Problems requiring specialized diagnostic equipment
- Repairs involving safety-critical components you're not qualified to handle
Saving money isn't worthwhile if an incorrect repair creates a bigger safety or mechanical problem.
Final Thoughts
DIY oil changes and basic vehicle fluid maintenance can be practical ways to save money and become more familiar with your car. Tasks such as checking engine oil, topping up washer fluid, inspecting coolant levels, and keeping maintenance records are relatively straightforward when performed according to the manufacturer's instructions.
An oil change requires more preparation, but the process can become manageable once you understand the correct procedure and have the necessary tools.
The most important rule is to follow your vehicle manufacturer's specifications rather than generic advice. Use the correct fluids, don't overfill anything, dispose of used oil responsibly, and never compromise on vehicle-lifting safety.
With the right approach, basic car maintenance can become a useful household skill—and a smart way to keep your vehicle running reliably while controlling routine ownership costs.